
Short story time!
Since I've known Hubs for almost 17 years, I've had the opportunity to get to know my in-laws very well. MIL {mother in law} is honestly one of the sweetest ladies I've ever met. She works really hard and is the ultimate homemaker. When we were home in college I would stay at his parents' house {I know, scandalous!} and she'd prepare three course meals and then whip up tons of baked goods, just because she felt like it. I remember so clearly turning to Hubs and saying 'who just feels like whipping up cakes and brownies in the morning? I hope you don't expect me to do that'. He laughed but I was dead-serious. I said, 'for real, don't expect me to take care of you like your mom. I'm not domesticated'.
Fast forward 5ish years on a Sunday morning when I whipped up these little guys. Why?
Yep, you guessed it - just because I felt like it.
Damnit!!!!

In all seriousness, I do love baking. I don't cook {though I've been doing more of that lately...} but I absolutely love baking, being challenged, holidays and making my little niece and nephew smile. So when I can combine all those things plus the new obsession with pinterest, I'm one happy lady.
I stumbled upon this pin from Brown Eyed Baker {phenomenal baking blog!} via Our Best Bites and I knew immediately that I had to jump on board and try it out. Here's the original pin from OBB:

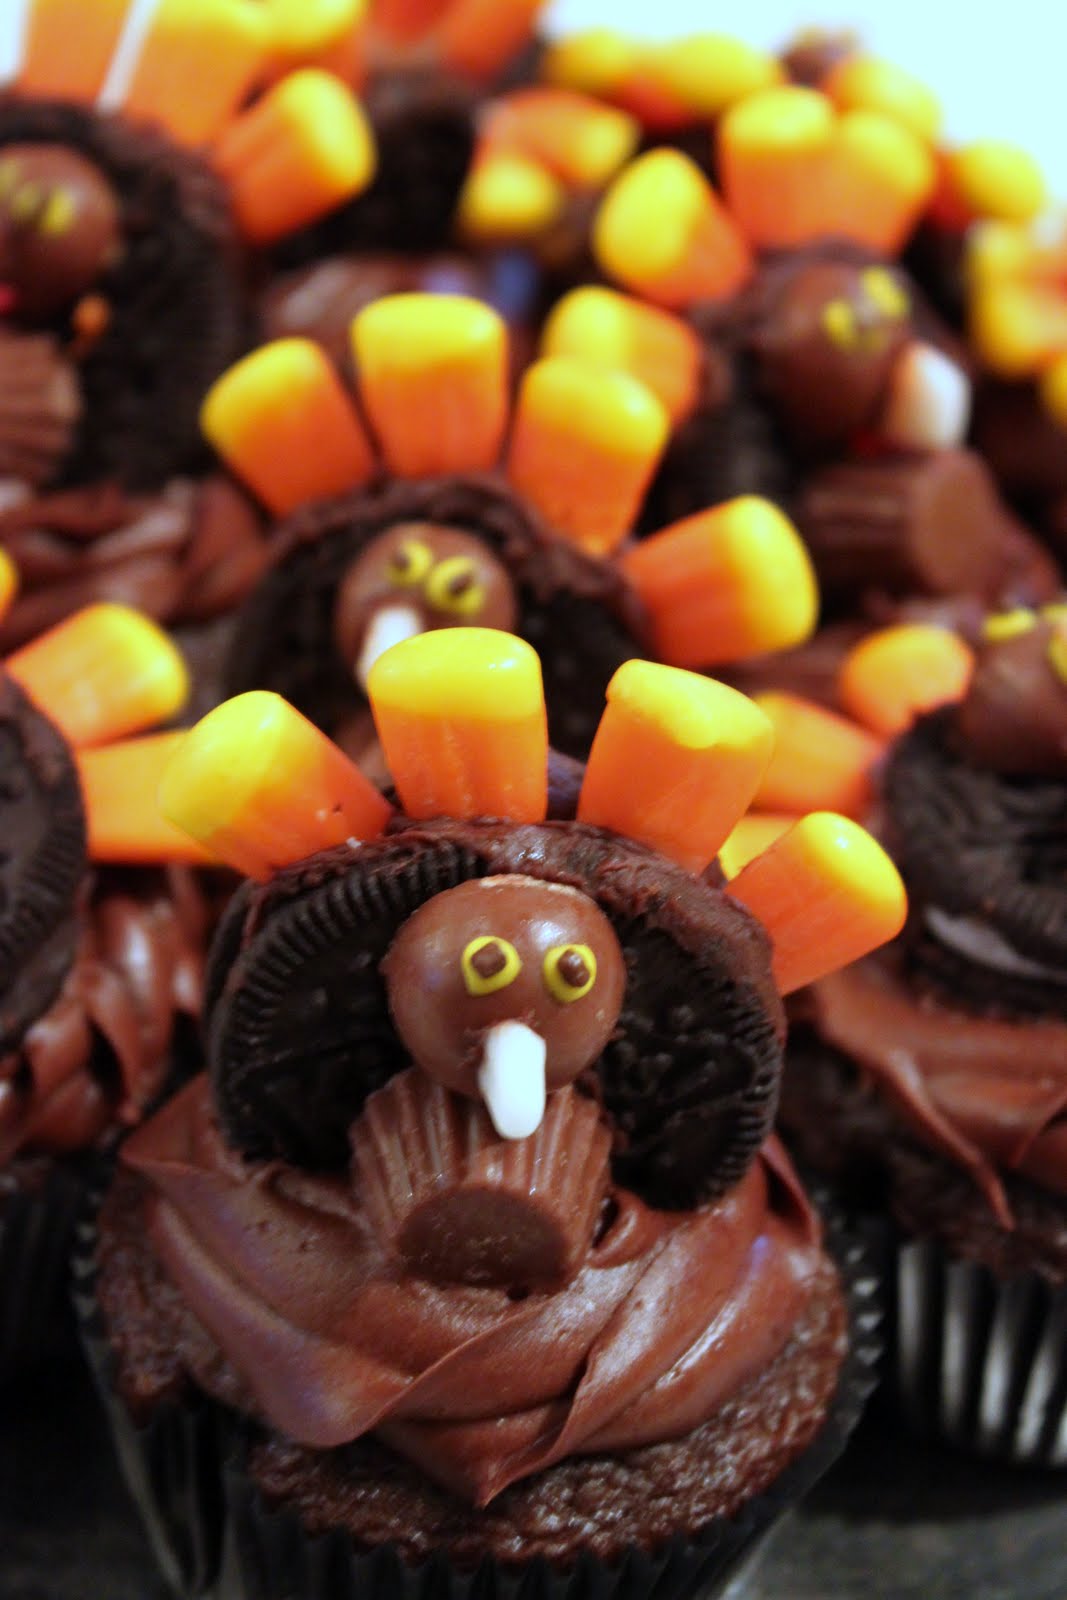
While mine are definitely not as polished as the original I think they turned out cute and I think the nephew's class is going to love them.

OBB has a great tutorial but I'll give you the basics!
Ingredients/Supplies:
- chocolate cake mix
- chocolate buttercream icing
- candy corn
- oreos
- peanutbutter cups {I used minis because I wasn't specific when I sent hubs to the store....}
- chocolate sprinkles
Bake your cupcake as normal and let them cool. While they're cooling start assembling your little turkeys.
Let's assemble some turkeys!
1. Use some icing to act as glue and gently push the candy corn between the oreo cookies

2. Put some icing on the back of the peanutbutter cup and place on top of the oreo


3. Do the same with the whopper and place on the oreo
{I cut it in half before adhering it to the cookie so it was in proportion with the mini peanutbutter cup)

4. Cut the top white off the candy corn to use as the beak and adhere with dollop of icing

5. Use yellow icing to make dots for the sprinkles to sit in to make the eyes
6. Put a little dab of red icing to make the little gobbler-er thingy
annnnd here's what you should end up with!

I decided to use them as cupcake toppers so I iced up my cc's and smooshed the turkeys in there. I also did a couple with the turkeys laid on top of the cc's instead of standing them straight up. I like variety.

::::: These take a while! It took me almost an hour to assemble 12 turkeys! ::::
Some useful tips:
- Sit down! I moved to our passthrough so I could watch the game and it ended up being a lot easier to assemble them sitting down!

- Don't touch! The icing needs to dry to hold them together so make them and leave 'em alone for a bit
- Use a q-tip to clean up any messes on the details. The yellow eyes were the most challenging for me, I kept messing them up! It was helpful to have a q-tip on hand to wipe off the mistakes. Dip it in a little water to cleanly clear the yellow away, if needed.
- If your cookie breaks just put a little icing on there to 'glue' it back together
- Use store-bought icing with a butter spreader {or whatever they're called} to spread the icing on the back of the whopper, peanutbutter cup and beak. Use the little icing tubes for the eyes and gobbler-er thingy.
- Make an assembly line - I did 5 or so of each step and then moved to the next one {ie: put the 'feathers' on 5 oreos and then put the PB cups on each and then add the whoppers on all of them}
- HAVE FUN! Just a reminder ;)
They take a lot of time but they are just so darn cute that they're worth it!

Super cute! Look at you all domesticated... :-)
ReplyDelete